
What do you do when that favourite pair of jeans, the pair that are so well worn they feel like a second skin, the pair you really don’t want to have to throw out…has finally succumb to a rip! The thought of a big ugly patch doesn’t appeal either. Machine darning to the rescue! (you can use this technique on any piece of worn clothing.)

It’s a simple technique but it does take a bit of practice to get the feel of using the machine without the presser foot and the feed dog (the little teeth that help feed the fabric from the bottom) down.
This technique DOES NOT COMPLY WITH OH&S so please take care. You can use an embroidery foot, which is a little circle that hovers over the fabric. It acts as a needle guard. I find it a bit annoying to use, so don’t.- Live dangerously.

You need to match some sewing thread to the denim. The better the match the more ‘invisible’ the final patch will be.
You also need some backing fabric. Choose a similar weight fabric to the weight of the garment that you are patching. You can use matching denim. I sometimes go to the local op-shop and buy an old pair of jeans.
Make sure you have heavy duty machine needles. Don’t be surprised if you break the odd one!

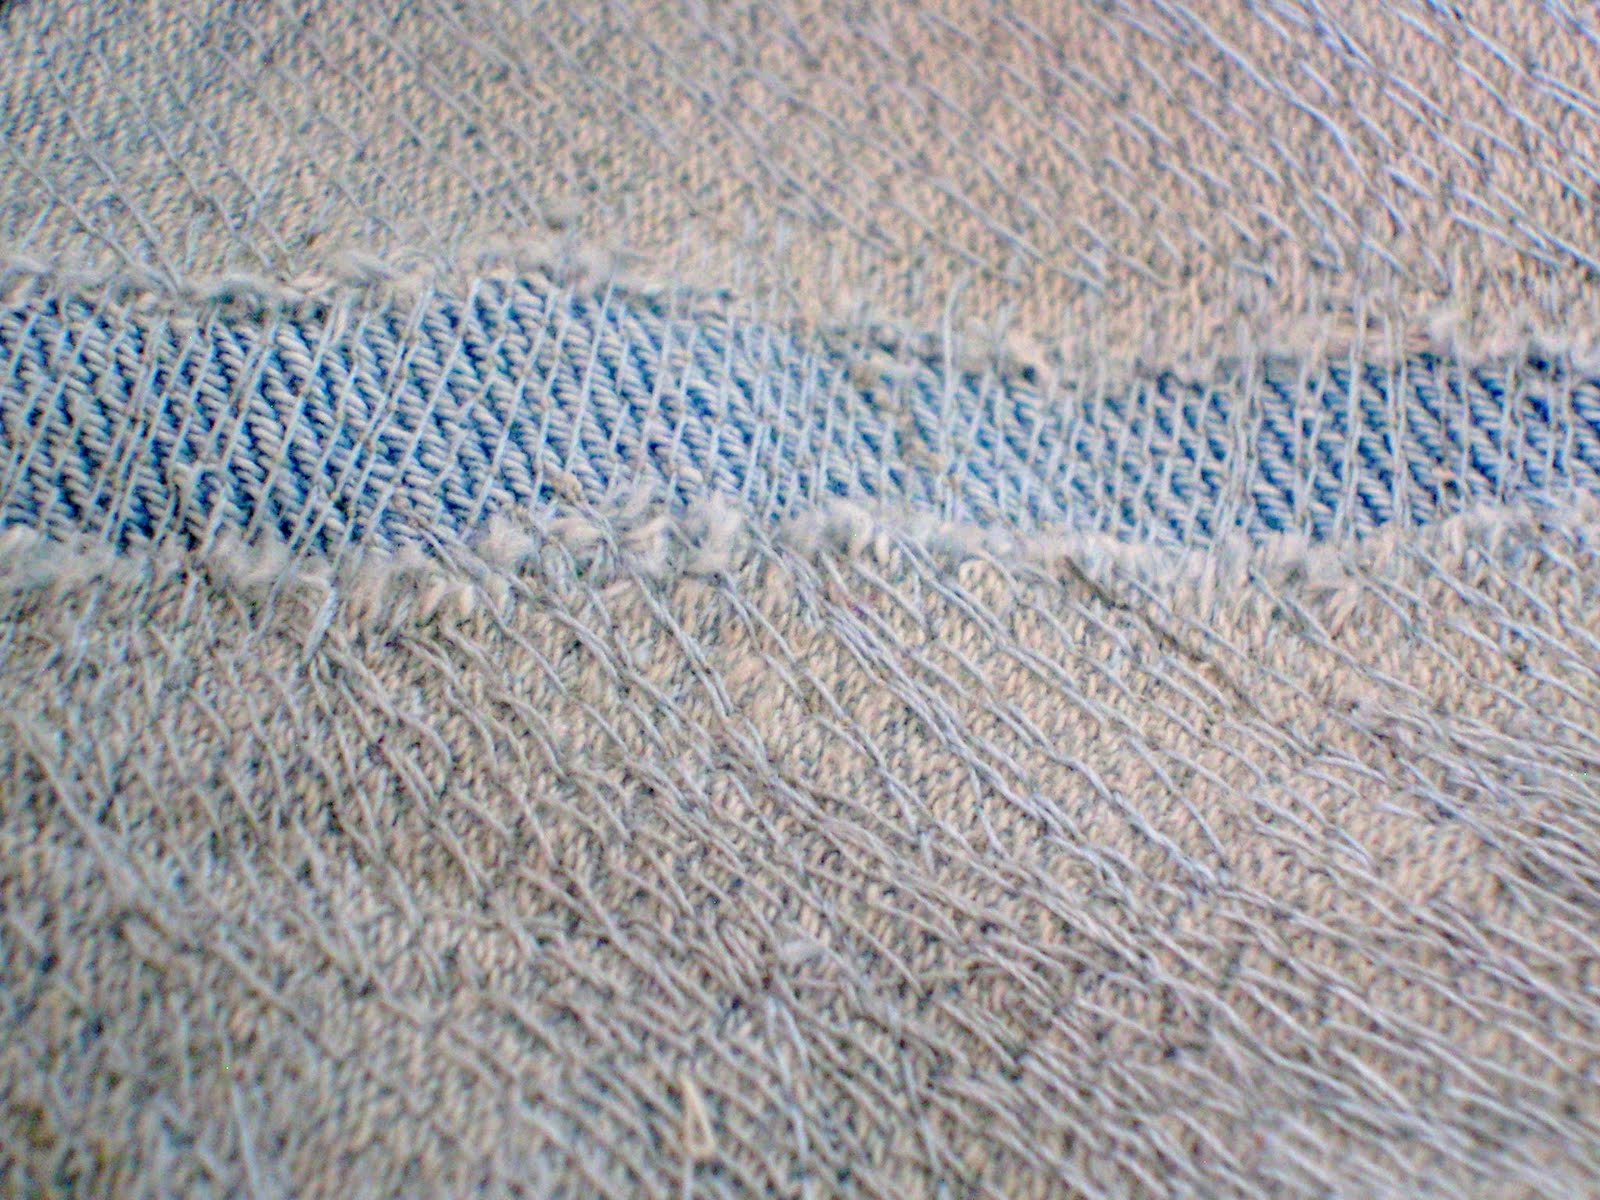
Cut out a piece of backing fabric to cover the hole. If the fabric around the hole is thin (which it usually is) make the backing patch cover this thin fabric as well. Turn the garment inside out.
Now you can pin the patch directly to the garment or you can use a fusing mesh – the sort used for appliqué. Iron the mesh on to the patch and then iron it in place on the wrong side of the garment.

If you are just using pins (which is what I do) turn the garment to the right side and re-pin from the right side.You could also put a running stitch around the outside of the patch so you know where the edges are as you will be stitching on the right side. Trim the loose threads from the rip.
My machine has a switch on the side for putting the feed-dog down. If you don’t know how to do this have a look in your sewing machine manual. I think most modern machines have this function.
Next remove the presser foot and replace with the embroidery foot if you choose to use one.
 Even though you no longer have a presser foot you still have to remember to put the presser foot leaver down as this engages the top tension.
The actual stitching is the part you may need to practice for a while, to get the feel of how to hold the fabric flat and move it at the same time.
There is a bit of fear and trepidation when darning for the first time because the needle is moving very fast, what you need to know is that you have control over how quickly you move the fabric and where the fabric is in relation to your fingers! If you are having trouble, place a piece of fabric in a small embroidery hoop and practice on that. Persevere. The fabric needs to be flat on the machine bed.

There is also a tendency for the thread to break from time to time. Just trim the thread end, re-thread and keep going.
You need to stitch back and forth, with each little row about 2 or 3 cm long and quite close together.
When you come to the end of this back and forth row do another slightly over lapping row. The photo shows the first row in black and the second row in red. Remove the pins as you go. Stitch over the entire patch in this way. Do a couple of stitches in the same place to finish off and then admire your handy-work!

Aha - now I can post a comment. This technology!
ReplyDeleteThat is a very tidy darn - well done.
Thanks for that Helen...I have only one pair of decent jeans and was dreading the day they gave up on me. xx
ReplyDelete