Friday, May 28, 2010

The Russian Hat


I came across this hat when I was looking for a hat pattern for my sister-in-law the other day. It’s from Vouge Knitting so I can’t give you the pattern but it is available on their website. http://store.vogueknitting.com/p-260-russian-hat.aspx
Or it’s in the 2007 holiday issue. I thought it was quite cute so had to have a go at making it.

The first problem, not of my own making, I encountered was the gauge. The pattern recommended needle size was 6.5mm (10 1/2), obtaining a gauge of 10sts and 16 rows over 10cm (4ins). Admittedly I didn’t have the yarn they prescribed but instead used 2 strands (as in pattern) of something called 'confetto', plus an extra strand of mohair. A single strand of this yarn had a recommended needle size of 7mm. I’m wondering if they gave the needle size for a single strand of yarn instead of a needle size for 2 strands because there’s no way I could get that gauge on that size needle. Anyway I used three strands from my stash and size 9mm needles.

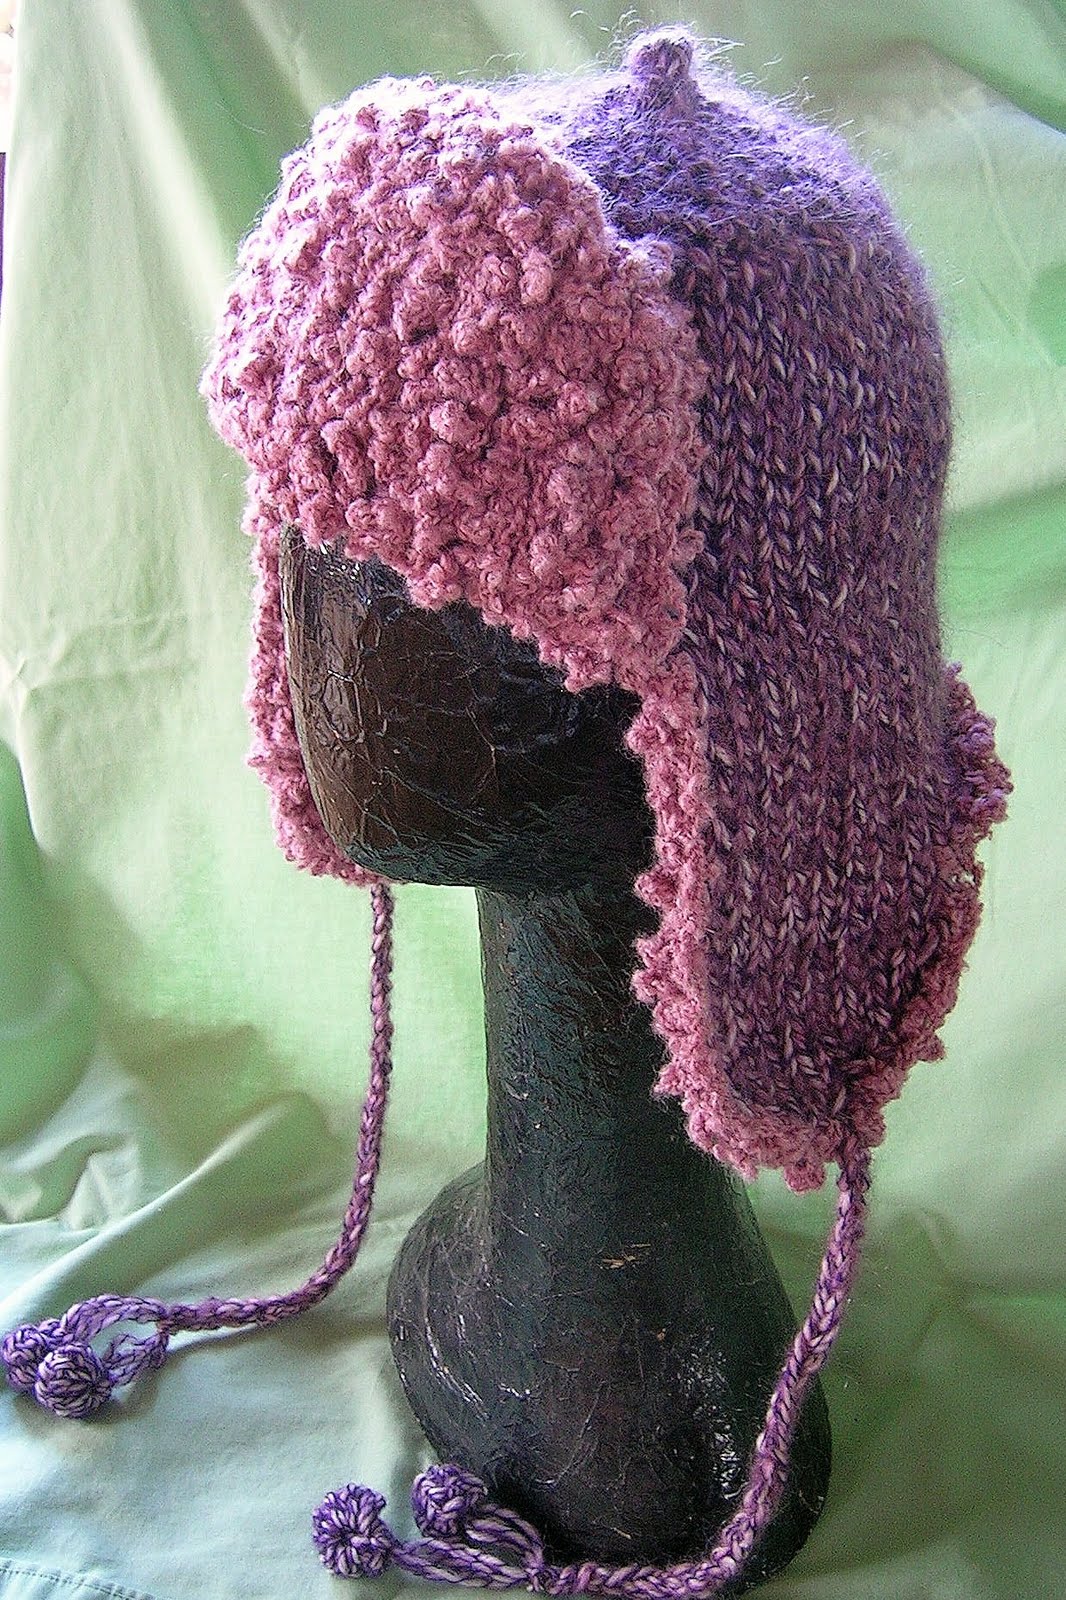
The pattern is knitted on a mixture of normal needles, a circular needle and double pointed needles. The double pointed needles were used at the very top of the crown when there were too few stiches for the circular. As I didn’t have any dpns of the right size I decided to crochet the very top. I removed one of the yarn strands (now only 2 strands-one being the mohair) and single crocheted each knit stitch from the needle and then decreased 8 stitches for each single crochet round.  I removed one of the yarn strands because the crochet stitch is bulkier than the knitted stitches.
I also added a little tag at the top.

The third change was adding the ‘wool’. The pattern uses a yarn called ‘Curly’ with a loop simply pulled through each purl st bump.

Once again I didn’t have the appropriate yarn, but did have some boucle yarn. Working vertical rows I sc 1 into first purl st bump then dtr 1 into the next purl st bump, over the flaps and around the edges of the hat. I also added a couple of bobbles to the ends of the ties.
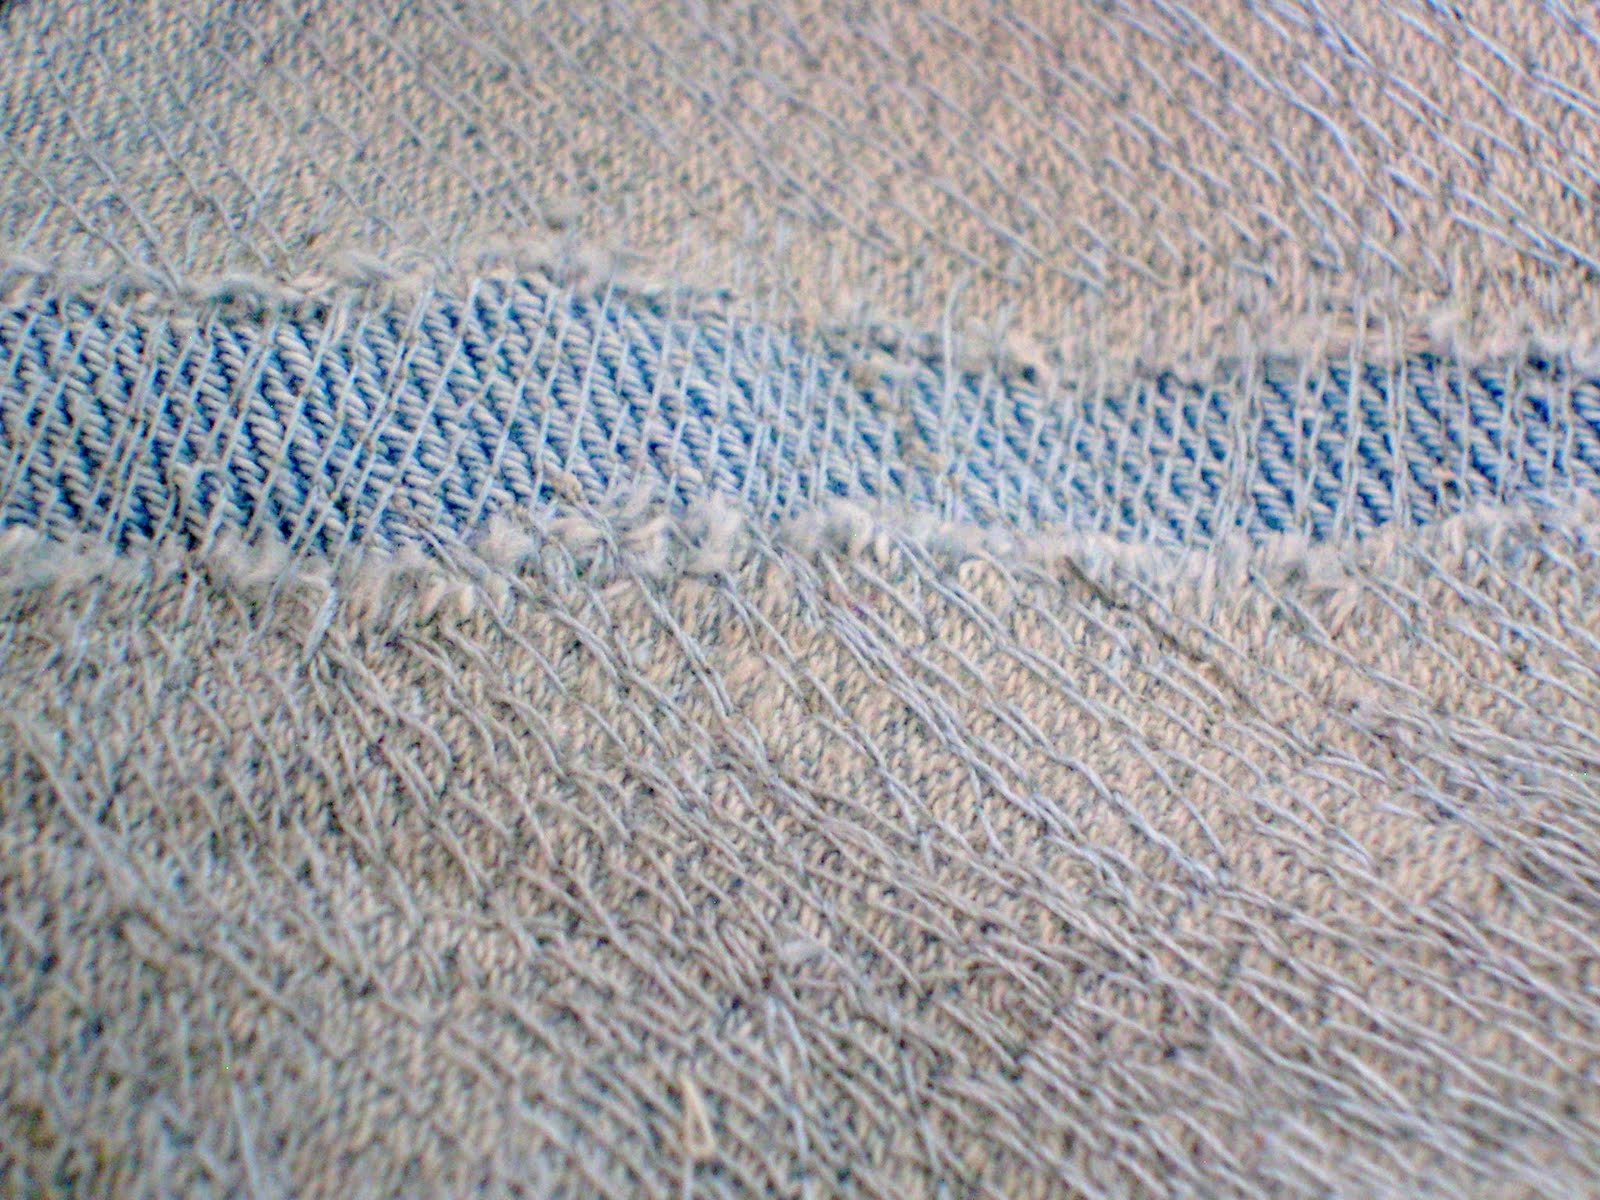

Monday, May 24, 2010

Machine darning.


What do you do when that favourite pair of jeans, the pair that are so well worn they feel like a second skin, the pair you really don’t want to have to throw out…has finally succumb to a rip! The thought of a big ugly patch doesn’t appeal either. Machine darning to the rescue! (you can use this technique on any piece of worn clothing.)

It’s a simple technique but it does take a bit of practice to get the feel of using the machine without the presser foot and the feed dog (the little teeth that help feed the fabric  from the bottom) down.

This technique DOES NOT COMPLY WITH OH&S so please take care. You can use an embroidery foot, which is a little circle that hovers over the fabric. It acts as a needle guard. I find it a bit annoying to use, so don’t.- Live dangerously.
You need to match some sewing thread to the denim. The better the match the more ‘invisible’ the final patch will be.

You also need some backing fabric. Choose a similar weight fabric to the weight of the garment that you are patching. You can use matching denim. I sometimes go to the local op-shop and buy an old pair of jeans.

Make sure you have heavy duty machine needles. Don’t be surprised if you break the odd one!
 Cut out a piece of backing fabric to cover the hole. If the fabric around the hole is thin (which it usually is) make the backing patch cover this thin fabric as well. Turn the garment inside out.

Now you can pin the patch directly to the garment or you can use a fusing mesh Рthe sort used for appliqu̩. Iron the mesh on to the patch and then iron it in place on the wrong side of the garment.
If you are just using pins (which is what I do) turn the garment to the right side and re-pin from the right side.You could also put a running stitch around the outside of the patch so you know where the edges are as you will be stitching on the right side. Trim the loose threads from the rip.

My machine has a switch on the side for putting the feed-dog down. If you don’t know how to do this have a look in your sewing machine manual. I think most modern machines have this function.

Next remove the presser foot and replace with the embroidery foot if you choose to use one.
Even though you no longer have a presser foot you still have to remember to put the presser foot leaver down as this engages the top tension.

The actual stitching is the part you may need to practice for a while, to get the feel of how to hold the fabric flat and move it at the same time.

There is a bit of fear and trepidation when darning for the first time because the needle is moving very fast, what you need to know is that you have control over how quickly you move the fabric and where the fabric is in relation to your fingers! If you are having trouble, place a piece of fabric in a small embroidery hoop and practice on that. Persevere. The fabric needs to be flat on the machine bed.
There is also a tendency for the thread to break from time to time. Just trim the thread end, re-thread and keep going.

You need to stitch back and forth, with each little row about 2 or 3 cm long and quite close together.

When you come to the end of this back and forth row do another slightly over lapping row. The photo shows the first row in black and the second row in red. Remove the pins as you go. Stitch over the entire patch in this way. Do a couple of stitches in the same place to finish off and then admire your handy-work!

Saturday, May 22, 2010

The Whittakers Dress


It’s been a whole year since I made the gold chocolate paper dress for the Katoomba Winter Magic festival ‘Haute Garbage’ Show.

I’ve always loved anything bright and shiny. When I discovered a particular brand of chocolate used paper backed gold foil I couldn’t bear to throw it out. I had a slowly accumulating pile on the side-board, what I was going to do with it was anybody’s guess.

Then I saw the ad in the local paper for the Haute Garbage show and a little light when on in my head.

I started by cleaning each paper with a damp cloth to remove all traces of chocolate (I’m sure Nigella would have left it on).

Then it was time to start stitching. I free machine stitched the whole surface of each paper with rayon embroidery thread. It took about 50 papers for the whole dress (yes I did go slightly mad but my teenage son was happy because he got to increase his chocolate consumption to make sure I had enough paper).

Free machine stitching just means I used the sewing machine with the feed dog down (the little teeth that help feed the fabric through) and the foot off. It means I have complete control over where the stitches go. I can literally draw with the stitches.

After I stitched the papers I then ripped them. The stitching held the paper together. It became like a lace. I stitched the squares together and made the dress.


Thursday, May 20, 2010

Brioche


Well I just received one of my mother's day books in the post.  (I banned mothers day, but wasn't going to say no to some books.)
It's Knitting Brioche by Nancy Marchant. (heavens - I've spilt food on it already)

As she says in her introduction these are 'not designs to be made in a weekend- they aren't quick and easy.'  But they are fabulously exciting. Two tone knitting - a bit like shot silk.  Wonderful textures and sooo thick and warm..
And they things you can do with increases and decreases.
I have to finish off the scarf I started knitting out of some 'Woodland' mohair.  8 balls for $4 in an op-shop.  Its a very big scarf, but its also very fat yarn so shouldn't take me too much longer.

Monday, May 17, 2010

In the beginning is the foundation chain. If you have a large number of stitches getting the right number of chain can be a bit of a headache. One solution is to chain until you think you have the right number and then do an extra 5 or 10 that you can unpick once you’ve finished the foundation row.


The other solution is to do a chainless foundation. I’ve only just learned how to do this. What a revelation. I think I read somewhere recently it was invented sometime in the 50s but never caught on until now.

The added advantage of this foundation is that the bottom of the work looks the same as the last row of work.

It’s also stretchier than the normal chain stitch foundation. You don’t get that terrible tight first row. And it looks good enough as it is to use as a braid, to stitch on to a pieces of work as a decorative edging.


It’s quite simple but seems a bit odd at first. It’s as if you go to make a single crochet but make a chain in the middle. I know I know – that’s a clear as mud.


I’m sure there is probably a you-tube of this method but here is my long hand pattern.


Take your hook and yarn and do this as you read. Just follow the instructions without trying to work out whats happening.


Make 2 chain. With the chain facing you (little bumps out the back) insert the hook through the bottom loop of the first chain – there will be 2 loops on the top of the hook. (three counting the loop already on the hook. See figure 2)


Figure 2

Yarn around hook and draw the loop through the stitch

Yarn around hook again and draw through the first loop on the hook. (This is the chain stitch that you will make the next stitch into. Try keeping your thumb at the beginning of this chain to mark where it is for your next st)

Figure 3. arrow shows chain stitch that the next stitch will be worked into.

Yarn round hook again and pull through both loops on hook. First stitch completed.

Next stitch. *Insert the hook into the chain made in the previous stitch – the one you marked with your thumb. As before insert it into the bottom loop of the chain. Yarn around hook and pull loop through.
Yarn around hook and pull through the first loop on hook (mark this stitch with your thumb as before)
Yarn around hook and pull through both loops on hook.* Second stitch made. Repeat from * to * for as many stiches as you require. It’s easy to count the stitches by turning the work over and counting each bump.

figure 4 Back of work.


Figure 5 Front of work.

Saturday, May 15, 2010


How to start a blog.


I know I'll tell you about my currant passion for and theories of crochet.


I learned to crochet when I was 9 or 10 from a girlfriends mother. I made lots of granny squares. Then along came the 70s and crochet was BIG. I made little tank tops and hats. The 70s crochet has stayed in peoples minds because it was so garish and over the top. How could crochet be anything else.


Before the 70s crochet was used for edgings and little danty doilies. I haven't done any extensive research but crocheted clothing wasn't that common and like knitting it was made in fine wool - 3,4 or 5 ply (lace weight?) Think of all those lovely old cardie patterns you see in op shops (well not that many any more) and you think - I could make that and then you look at the yarn requirements and its 3 ply and you eyes roll back in your head.


But for crochet I think its necessary to find patterns that use finer wool. The construction of a knitted stitch is just two single lengths of yarn interlinked. A crochet stitch is much more dense.


Double knitting (sport weight) is great for jackets where you want a lot of warmth but lets go for finer wool for all the other stuff.