Sunday, October 3, 2010

Thistle down progress

This is the next step in my thistle down top.  
I've tacked all the motifs to a piece of stiffish interfacing and am now adding a net in between each piece to make it a whole fabric.  The netting I'm doing in this lower half is just a simple 5 chain net.  Above the motifs I will fill in with a fancier netting.
If you look closely you can see the tacking thread and a few pins.


Wednesday, September 22, 2010

The faeries made me do it.

These are some wrist bands I've been making.
 I delve into my bags of scraps and thread and start stitching. When I embroider the stitches I use are very basic and rough..  I want to make things that are beautiful but not perfectly beautiful. In fact very imperfect.  I use blunt scissors and work in quite a bit of chaos.  Kitchen table covered in all sorts of mess - so I push it back a bit and make a space.  I have a box of beads that over the years have become more and more muddled.  I always am amazed when there is an article about an artist or crafts person with a photo of their perfectly ordered studio.  I wonder if  they have spent a week cleaning or if they really do keep all there supplies in neat little boxed shelves.  I look at my beads and think I could sort them out but somehow never get around to it.


My favourite one

The one I like best is the orange one.  Orange being my favourite colour. Its the least ordered and has some fabric beads. 
second favourite
 The next one has appliqued petals from paper flowers I dismantled and then added bead centres.
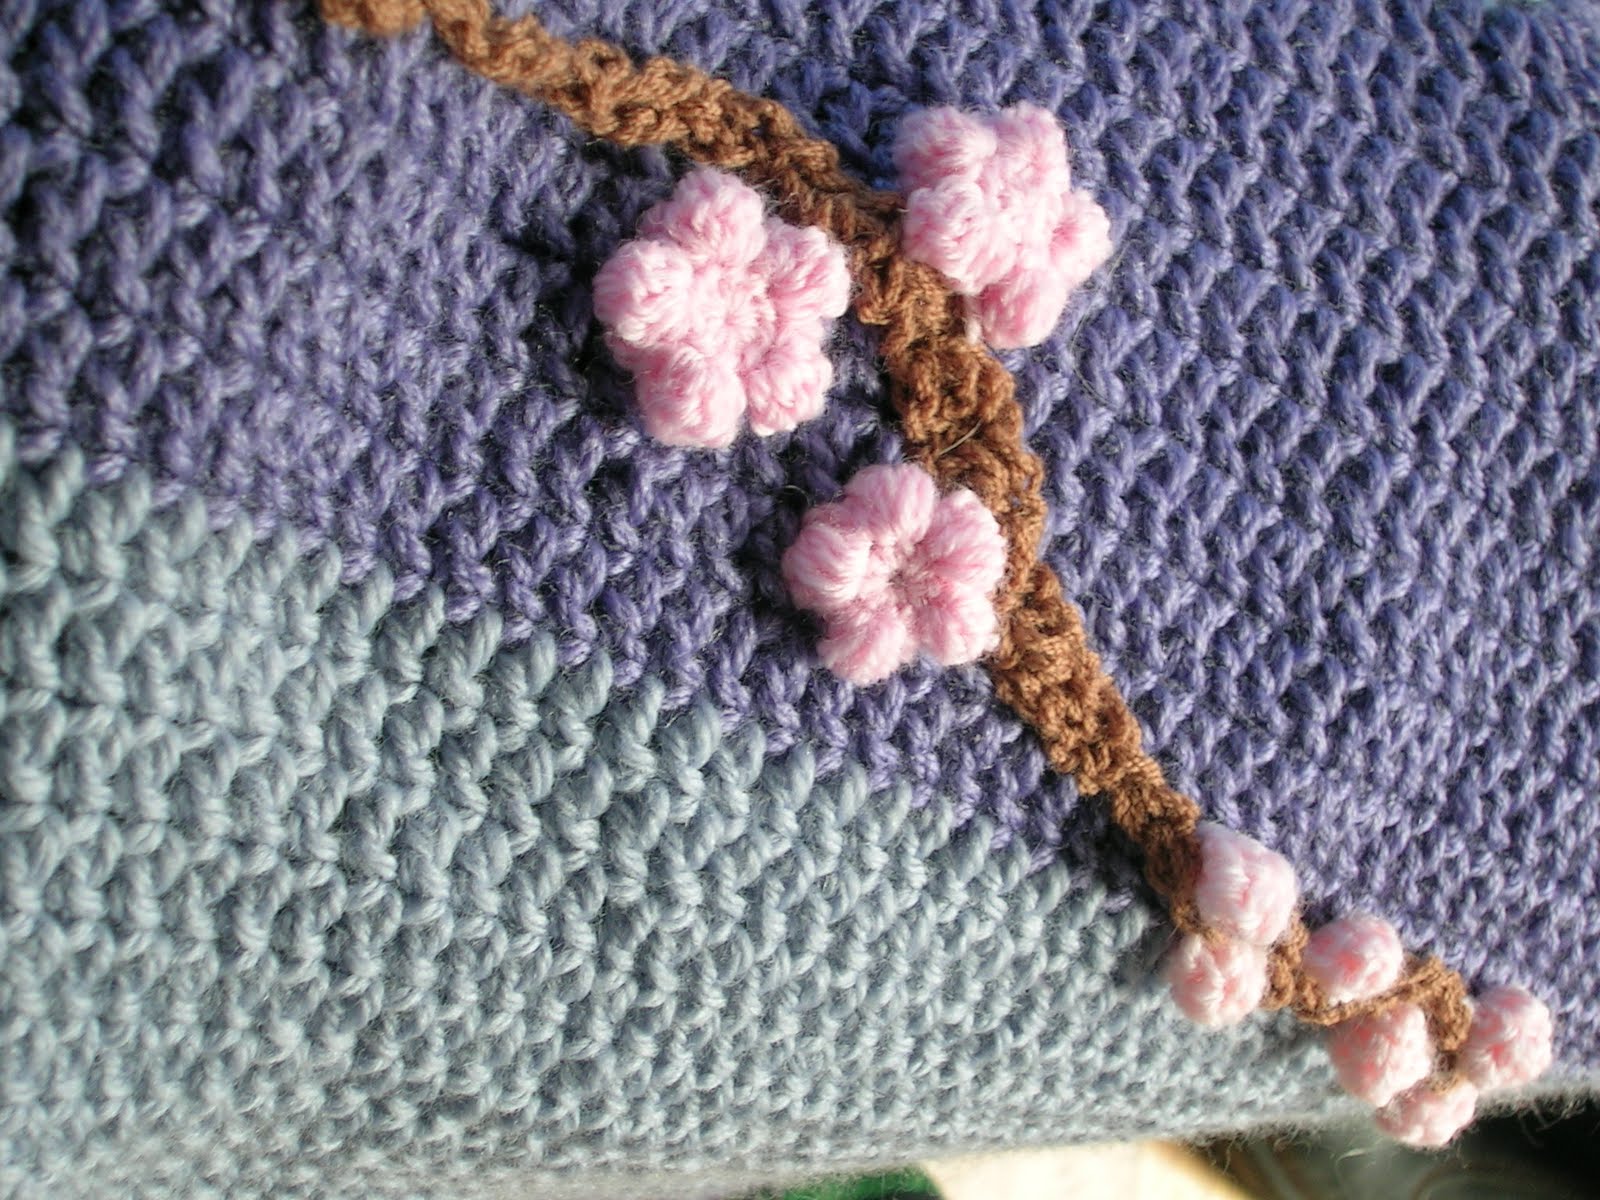
third favourite.


The third one is pink and aqua with lots of gold trim. 
I used to wonder where my taste for ornamentation came from and then realised it was all my formative years spent in the catholic church.  Priests in brocade and alter boys in lace. Side alters with statues of saints in pastels, festooned with flowers, all bathed in the glittering light from candles and stained glass windows.


Saturday, August 14, 2010

Thistle down

 
My latest project is an update on an old project.  It was intiially inspired by some motifs in a Russian crochet magazine called 'Aynaet'.  Each motif had a graph so I could work out more or less how to make them.  I joined them altogether using a 'ground' from an Irish Crochet book, added some sleeves and turned it into a cardican. 
This time I'm going to add some leaf motifs and plan it a bit more carefully.  Usually I don't plan very much and things just turn out how they do.  Sometimes good, some times not.

The yarn I'm using is 50% kid mohair and 50% nylon.  Its  very fine
 lace weight which I love for crocheting.


   This is the original cardican

.


Monday, July 26, 2010

Seat Pad

First I must say that the colour of these photos is wrong.  In real life it is are much more orange.  I actually prefer the more pink version.  There must be something on my camera that needs adjusting - too much technology. 
This is my first seat pad.  I'm going to make 3 more.  When I showed Amelia she said 'is that so the cats will be more comfortable!'  Well no, it's so I'll be more comfortable. 
This is quite an extravagant pattern, mainly because I have lots of yarn that I bought on sale.  I have used 3 strands of double knit throughout.  Its a  wool/mohair/soy mix. It also has a backing that is double knit (worsted weight) acrylic.  My favourite part is the bobbles on the backing come through the gaps on the fringing on the front. I didn't plan that but it seemed like a fun thing to do. 

Wednesday, July 21, 2010

Blossom Blanket.

For a long time I’ve wanted something – anything – with pink blossom on a blue background. There is just something about that image that I just love.

When I started out making the blanket I didn’t have much of a plan except to use the blue wool I had made into my lovely centre pull balls. It’s just a simple double crochet square. As I crocheted I thought how boring it was, so to keep myself interested I thought of what else I could do with it.. And so began the blossom blanket.

The branches are rows of one double crochet with a single chain for turning and every now and again I increased it to two double crochet and back down to one again to give it a bit of texture.

The blossoms are 10 single crochet into a circle then 2 chain and a 3 double crochet cluster into the first stitch, 2 ch and a slip stitch into the next stitch, first petal then repeat that 4 more times and you have a 5 petal flower. I stitched them on with the back side to the front so the petals are like little puffs.  I'm also thinking I might embroider some darker pink centres into the flowers and possibily even add more flowers.

Friday, June 25, 2010


`Centre Pull Ball.

I’ve just finished unpicking a couple of old cardies. I wound the wool into shanks and then washed and dried it before rolling it into balls. Something I like to make is centre pull balls so I don’t have balls that roll all over the place when I’m working from them.


You start by winding the end of yarn around your thumb a few times. This is the thread that will be pulled from the centre when you’re finished.

Next you start winding the yarn around three fingers and the tip of the thumb. Keep all the winding loose/soft.

When you’ve wound a couple of dozen times remove it from the three fingers but keeping the yarn wound on the thumb. Now hold the wound yarn with the three fingers and the thumb in the centre of the yarn.

Keeping the thumb in the same position as you wind around the fingers and yarn. (Winding around the fingers helps keep the ball loose) Ever few winds remove the fingers and make a quarter turn until all the yarn is used.

Tuck the end under; remove your thumb along with the centre pull thread.


Wednesday, June 2, 2010

Barking and Burping

Adventures in brioche knitting.
Well it took me about 3 nights before I managed to get any knitting on my needles. I first taught myself how to do the Italian cast-on, and then with 2 colours! Going straight into the pattern with no ribbing was also a challenge. Each second stitch is slipped with a yo, so on the first row everything gets twisted. What a nightmare.

So very carefully I finally managed to get started, following the pattern row by row. Two rows in one direction, then two back in the other direction. As with any pattern when you’re starting out, it’s hard to see how the pattern works. My biggest problem was working out if I was doing a plain row or a purl row (barking or burping) Except for the colour both sides of the work are identical. I had to make myself lots of ittle diagrams with different coloured pens, and arrows trying to make sense of it. After reversing the colours a couple of times accidentally it eventually dawned on me. The predominant colour facing is a knit row with that colour, followed by a purl row with the contrasting colour. Brilliant!
It’s a scarf by the way, with just 30 stitches – not too many to undo when I make a mistake. Because I unintentionally changed colours at the beginning I’m now using that as my pattern - random colour changes.

‘Bark’ is brioche knit stitch and ‘burp is brioche purl stitch.